While hoverboards are adequately brilliant to guarantee you stay upstanding yet there’s something else to it besides bouncing on and expecting the most ideal. This is how you can utilize the hoverboard.
Hoverboards were wherever in 2015, and, surprisingly, however, the publicity has dialed back, oneself adjusting sheets keep on selling quickly on the web. While hoverboards are adequately brilliant to guarantee you stay upstanding. There’s more to riding one than simply venturing onto it and expecting the most ideal.
In any case, don’t be stressed, as Tech Advisor has been riding hoverboards for over two years. We’ve placed together our tips on the most proficient method to get on a hoverboard (with extra tips! ).
Stage 1. Sitting on the hoverboard.
Before you have a go at remaining on your hoverboard you should ensure it’s completely energized and running. Try not to have a go at remaining on the hoverboard on the off chance that it’s off because it will be a fall instantly. Change to the board (most element silver buttons on the back piece of the sheets) too, and if the hoverboard permits it, select the suitable novice mode.
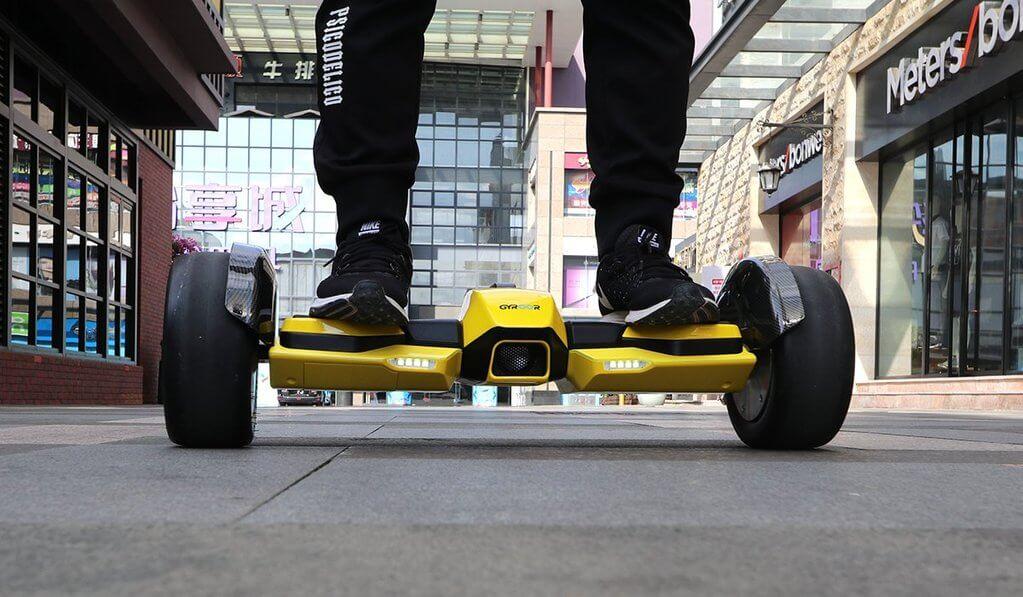
Start by setting your foot onto the hoverboard and ensuring you keep your foot set up to guarantee that the hoverboard is in a straight level, consistent riding position. When you’re steady and prepared take one foot from the floor and stroll onto the board. Try not to consider a lot of it’s like making a stride up a flight of stairs.
Try to put your feet as near the right half of the board as you can, while staying agreeable. A more extensive stance and bowed knees assist with soundness.
The best thing about hoverboards is that they’re made to naturally adjust you when you take the board notwithstanding, that you may be somewhat unstable while attempting to find your focal point of gravity. On the off chance that you don’t know how to adjust yourself, consider putting the board against a wall, or another item to hold would it be a good idea for you to tumble reeling?
Stage 2. Pushing ahead and in reverse
On the off chance that you can sit at a consistent position, without being temperamental, now is the ideal time to start moving in the two headings. The most common way of making a hooverboard is clear anyway there is training bend, especially concerning speed and brakes. The thought behind the movement is clear Lean towards the forward course to progress and afterward back to ease back things to switch and dial back.
Try to twist your knees for better control of your speed. Likewise, make sure to dial back over a significant stretch. The main thing isn’t to collide with an impediment and tumble off!
Stage 3. Left and Right
The turning of your hoverboard is equivalent to the movement of moving back and advancing everything revolves around equilibrium and tension. Each side is autonomous of the other, which permits you to pivot each side. For turning past on press the right half of your foot to go and to turn passed on move you’re passed by walking to the left.
It is ideal to start by doing slow, delicate moves before continuing toward quicker turns since it’s not difficult to let completely go while turning. It’s very agreeable after you’ve dominated it!
Stage 4. Eliminating the hoverboard
At the point when you step onto your hoverboard likewise a strategy to get off without falling. It’s critical to guarantee you leave the load up in reverse, not advances. At the point when you step advances, you make the board apply tension on your front foot, which could cause the hover board to push ahead, making you fall.
One might say that this could be the situation when you step in reverse, yet it seems to happen all the more often while strolling from the back.